Mini Protein Cheesecakes (Gluten Free, Healthy) Recipe
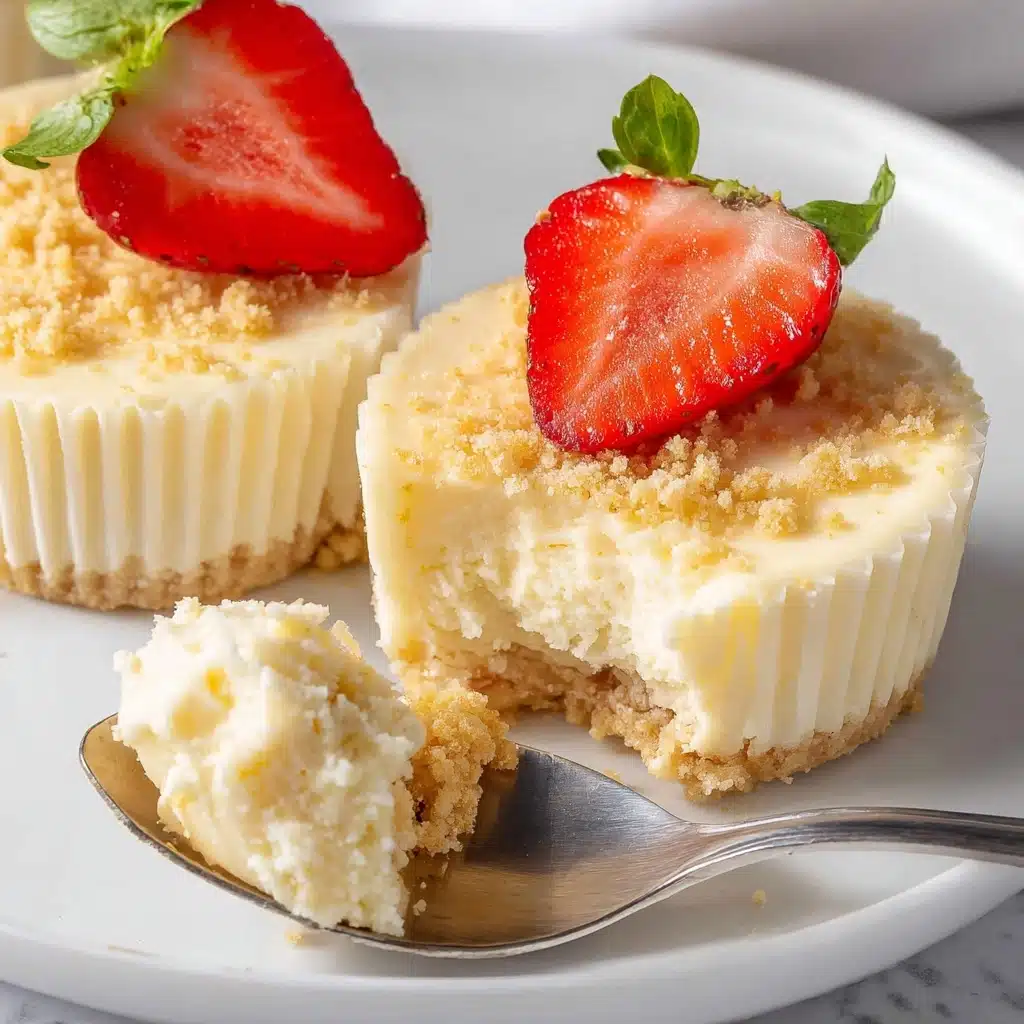
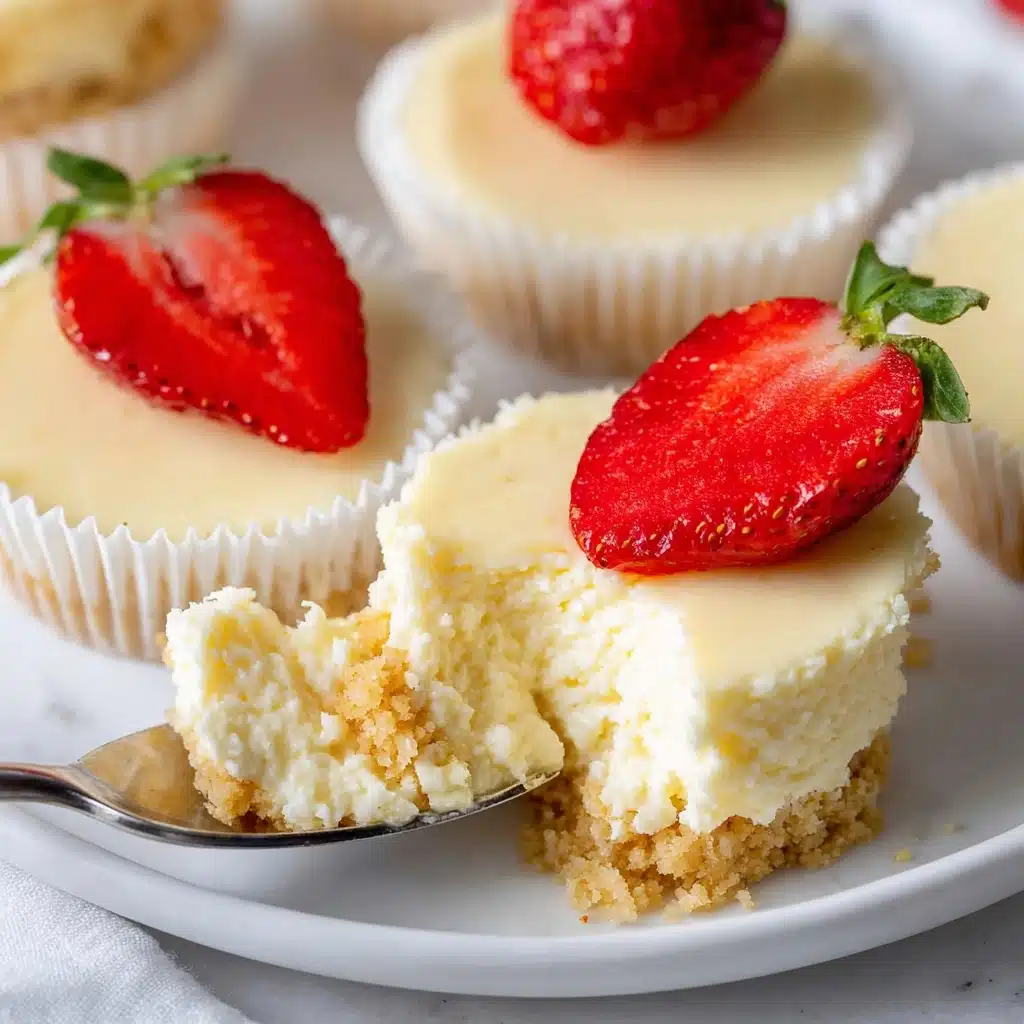
If you’re on the lookout for a delightful treat that’s both satisfying and guilt-free, these Mini Protein Cheesecakes (Gluten Free, Healthy) are about to become your new favorite indulgence. Creamy, smooth, and packed with protein, these little cheesecakes bring all the decadence of a classic dessert without the heaviness or gluten. Perfect for a post-workout snack, a wholesome dessert, or even a fancy brunch addition, they balance nutrition and flavor so effortlessly that you’ll want to make them again and again.
Ingredients You’ll Need
The beauty of these Mini Protein Cheesecakes (Gluten Free, Healthy) lies in their simplicity—the ingredients list is short but each component plays an important role in crafting the perfect texture and flavor. From creamy Neufchatel cheese to protein-packed whey powder, every ingredient works together to bring you something truly special.
- Neufchatel or cream cheese (2 packages, 8oz each): Provides a rich, creamy base that’s lighter than traditional cream cheese with lower fat content.
- Nonfat Greek yogurt (8 oz): Adds tangy moisture and boosts protein while keeping things light and fluffy.
- Vanilla extract (1 teaspoon): Enhances the overall flavor with warm, aromatic notes.
- Large eggs (4): Essential for binding the mixture and giving the cheesecakes just the right amount of lift.
- Unflavored whey protein concentrate (1/2 cup or 40g): Infuses the dessert with extra protein without overpowering the taste.
- Stevia powder (1/4 teaspoon): Provides a natural sweetness that keeps the recipe healthier without added sugars.
How to Make Mini Protein Cheesecakes (Gluten Free, Healthy)
Step 1: Prepare Your Oven and Pan
Begin by heating your oven to 300 degrees Fahrenheit and lining a cupcake pan with paper liners. This low temperature is key for gently baking the cheesecakes so they stay creamy and don’t crack, while the cupcake liners keep cleanup simple and each portion perfectly sized.
Step 2: Beat the Cheese Until Smooth
Using a mixer at low speed or some elbow grease with a spoon, beat the Neufchatel or cream cheese until it’s silky smooth. This step ensures your cheesecake batter has no lumps and will bake into a velvety texture.
Step 3: Mix in Yogurt and Vanilla
Add the nonfat Greek yogurt and vanilla extract to the cheese and mix until fully combined. The yogurt adds a light tang and richness, and the vanilla brings out a delicate sweetness, rounding out the base flavor beautifully.
Step 4: Incorporate the Eggs One by One
Crack in the eggs one at a time, mixing well after each addition. This careful incorporation helps maintain the batter’s smooth, airy consistency, and ensures even baking throughout the mini cheesecakes.
Step 5: Add Protein and Sweetener
Sprinkle in the unflavored whey protein concentrate and stevia powder, then mix thoroughly. The whey protein not only enriches the dessert’s nutritional profile but also helps firm up the cheesecakes without heaviness. Stevia makes sure you get that sweet touch without added sugar guilt.
Step 6: Fill Liners with Batter
Spoon the cheesecake batter evenly into your cupcake liners, filling each about three-quarters full. This sets the stage for perfect mini portions that look adorable and bake evenly.
Step 7: Set Up a Water Bath
Place your cupcake pan inside a larger sheet pan, then prepare some hot water. The water bath gently regulates the temperature while baking and prevents the cheesecakes from drying out or cracking, resulting in that signature creamy texture.
Step 8: Bake and Add Water to Sheet Pan
Carefully pour the hot water into the larger pan around the cupcake tin to create steam, then close the oven. This technique helps the cheesecakes cook slowly and evenly, locking in moisture.
Step 9: Bake Until Just Set
Bake the cheesecakes for 30 to 40 minutes. Ovens vary, so you’re looking for centers that are set but still slightly jiggly. This ensures they will finish firming up perfectly as they cool.
Step 10: Cool and Chill Thoroughly
Allow the mini cheesecakes to cool in the pan for about 10 minutes before transferring them to a wire rack to cool completely. Once cooled, refrigerate them in an airtight container for 2 to 3 hours to chill and fully set the texture.
How to Serve Mini Protein Cheesecakes (Gluten Free, Healthy)
Garnishes
Adding fresh berries like raspberries or blueberries on top provides a burst of color and natural sweetness that complements the creamy cheesecake. A sprinkle of crushed nuts or a light dusting of cinnamon can also elevate the look and add a delightful crunch or warmth.
Side Dishes
Mini protein cheesecakes pair wonderfully with fresh fruit salads or a dollop of lightly whipped coconut cream for an extra touch of indulgence. If serving brunch, consider alongside a vibrant green smoothie or herbal tea to create a balanced, nutrient-rich meal.
Creative Ways to Present
Serve these cheesecakes in pretty individual cupcake liners or on small dessert plates with drizzles of honey or chocolate sauce artistically swirled around. You can also stack them in tiers on a dessert stand for parties, making them the undeniable star of the table.
Make Ahead and Storage
Storing Leftovers
Store any uneaten mini protein cheesecakes in an airtight container in the refrigerator to keep their creamy texture intact. They will stay fresh and delicious for up to 3 days, making them perfect for prepping snacks or dessert in advance.
Freezing
If you want to keep these cheesecakes on hand longer, they freeze beautifully. Simply place them in a single layer on a baking sheet until solid, then transfer to a freezer-safe container. They can be frozen for up to one month without losing flavor or texture.
Reheating
While these cheesecakes are best enjoyed chilled, you can let them thaw in the fridge overnight before serving if frozen. Avoid microwaving, as this can alter their texture and cause separation. Instead, just allow them to come to temperature naturally for the best experience.
FAQs
Can I use vanilla whey protein instead of unflavored?
Absolutely! Using vanilla whey protein is a great way to add a little extra flavor to the cheesecakes, and it works well with the vanilla extract already in the recipe. Just expect a subtly sweeter taste.
Is Neufchatel cheese necessary, or can I use regular cream cheese?
Neufchatel is preferred for its lower fat content and creaminess, but regular cream cheese will work if that’s what you have on hand. Just be aware that the texture might be a bit richer and slightly heavier.
How do I know when the cheesecakes are done baking?
The centers should be just set and slightly jiggle when you gently shake the pan. They will firm up more as they cool, so it’s better to underbake just a bit than to overbake and end up with a dry texture.
Can I replace stevia powder with another sweetener?
Yes, you can swap stevia for other natural sweeteners such as erythritol or monk fruit sweetener. Make sure to adjust the quantity according to sweetness levels, as each sweetener varies in potency.
Are these cheesecakes suitable for meal prepping?
Definitely! Because they’re packed with protein and individually portioned, these mini cheesecakes are perfect for meal prepping snacks or desserts that you can grab on the go throughout the week.
Final Thoughts
These Mini Protein Cheesecakes (Gluten Free, Healthy) truly hit that sweet spot where health meets indulgence. They are nutritious yet luxuriously creamy, easy enough for any level of baker, and versatile enough to fit in any meal plan. I can’t wait for you to try them and discover just how delicious healthy dessert can be!
PrintMini Protein Cheesecakes (Gluten Free, Healthy) Recipe

These Mini Protein Cheesecakes are a healthy, gluten-free dessert option packed with protein and low in sugar. Perfectly creamy and rich, they are made with Neufchatel or cream cheese, nonfat Greek yogurt, and whey protein concentrate, sweetened naturally with stevia. Ideal for a nutritious snack or guilt-free indulgence.
- Prep Time: 15 minutes
- Cook Time: 35 minutes
- Total Time: 3 hours 50 minutes
- Yield: 12 mini cheesecakes 1x
- Category: Dessert
- Method: Baking (Water Bath)
- Cuisine: American
- Diet: Gluten Free
Ingredients
Main Ingredients
- 2 (8 oz) packages Neufchatel or cream cheese (454g)
- 8 oz nonfat Greek yogurt (227g)
- 1 teaspoon vanilla extract
- 4 large eggs
- 1/2 cup unflavored whey protein concentrate (40g), or vanilla whey concentrate
- 1/4 teaspoon stevia powder
Instructions
- Preheat Oven and Prepare Pan: Preheat your oven to 300°F (150°C) and line a cupcake pan with paper cupcake liners to prevent sticking and make cleanup easier.
- Beat Cream Cheese: Beat the Neufchatel or cream cheese on low speed or by hand until it becomes smooth and creamy, ensuring no lumps remain.
- Add Yogurt and Vanilla: Mix in the nonfat Greek yogurt and vanilla extract thoroughly until fully combined to add creaminess and flavor.
- Incorporate Eggs: Add eggs one at a time, blending well after each addition to create a smooth batter and ensure even texture.
- Mix in Whey Protein and Stevia: Fold in the whey protein concentrate and stevia powder. Mix well to evenly distribute the protein and natural sweetness.
- Fill Cupcake Liners: Spoon the batter evenly into the prepared cupcake liners, filling each about three-quarters full.
- Prepare Water Bath: Place the cupcake pan inside a larger pan like a half sheet pan to create a water bath, which helps the cheesecakes bake evenly and prevents cracking. Have several cups of hot water ready.
- Add Hot Water and Bake: Carefully pour the hot water into the larger pan around the cupcake pan, then place the entire setup into the oven to bake.
- Bake Until Set: Bake for 30-40 minutes, until the centers are just set but still slightly jiggly. This timing accounts for variations in oven temperature.
- Cool and Chill: Let the mini cheesecakes cool in the pan for about 10 minutes, then transfer to a wire rack to cool completely. Refrigerate in an airtight container for 2-3 hours until fully chilled and set before serving.
Notes
- Using a water bath helps prevent cracks in your cheesecakes.
- Neufchatel cheese has less fat than regular cream cheese but works equally well.
- Vanilla whey protein adds subtle flavor; unflavored can be used to keep it neutral.
- Stevia powder can be adjusted according to your preferred sweetness.
- Keep cheesecakes refrigerated to maintain texture and freshness.
- This recipe is gluten-free and suitable for a low-sugar, high-protein diet.
Nutrition
- Serving Size: 1 mini cheesecake (approx. 75g)
- Calories: 110 kcal
- Sugar: 1 g
- Sodium: 85 mg
- Fat: 5 g
- Saturated Fat: 3 g
- Unsaturated Fat: 2 g
- Trans Fat: 0 g
- Carbohydrates: 5 g
- Fiber: 0 g
- Protein: 12 g
- Cholesterol: 65 mg
Keywords: mini protein cheesecakes, gluten free cheesecake, healthy cheesecake, low sugar dessert, high protein dessert