Homemade Matcha Cheesecake Daifuku Recipe
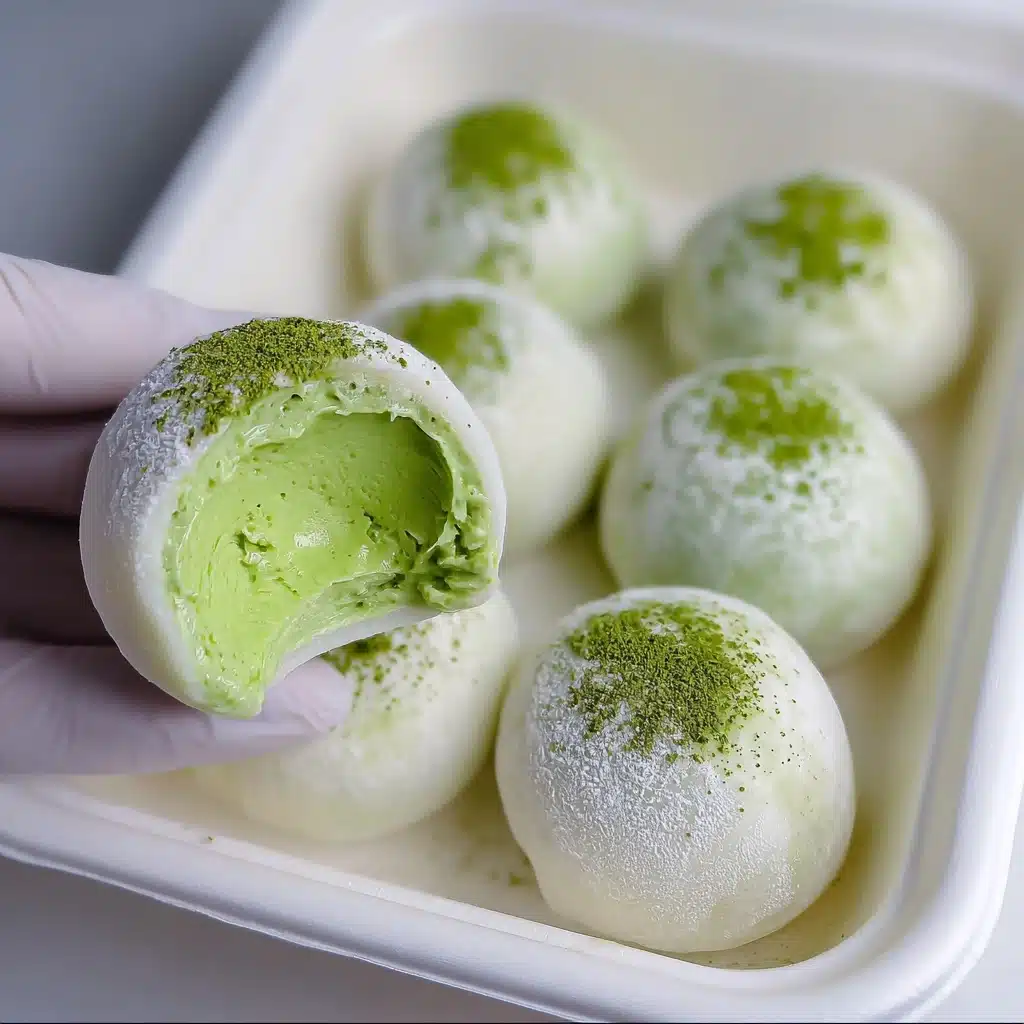
If you have a soft spot for delicate Japanese sweets and a love for rich, creamy desserts, then this recipe for Homemade Matcha Cheesecake Daifuku is about to become your new obsession. This delightful treat marries the silky texture of mochi with the luscious, refreshing flavor of matcha-infused cheesecake, wrapped up in a pillowy glutinous rice dough. Every bite offers a beautiful balance of earthiness from the matcha and sweet creaminess from the filling, making it a perfect fusion of flavors that you can enjoy anytime. Trust me, once you try making your own Homemade Matcha Cheesecake Daifuku, store-bought versions will just not compare!
Ingredients You’ll Need
These ingredients are wonderfully simple yet play vital roles in creating the perfect harmony of taste, texture, and color in your Homemade Matcha Cheesecake Daifuku. Each one contributes something special, whether it’s the creamy tanginess, the signature matcha green, or the chewy softness of the mochi dough.
- Cream cheese (200 g, softened): The creamy base that gives the cheesecake filling its smooth richness.
- Granulated sugar (25 g and 15 g): Adds just the right amount of sweetness in both the filling and mochi dough.
- Matcha powder (8 g): Preferably Japanese, for that vibrant color and authentic earthy flavor.
- Heavy cream (150 g, chilled): Whipped into the cream cheese for lightness and airy texture.
- Glutinous rice flour (120 g): The essential ingredient for the chewy, stretchy mochi dough.
- Cornstarch (30 g): Helps to stabilize the mochi dough and prevent stickiness.
- Whole milk (180 g): Brings the dough together smoothly for a tender bite.
- Unsalted butter (15 g): Added to the dough after steaming, for that subtle richness and pliability.
How to Make Homemade Matcha Cheesecake Daifuku
Step 1: Make the Matcha Cream Cheese Filling
Start by blending the perfectly softened cream cheese with granulated sugar until the texture is silky and smooth, without any lumps. Then, mix in the vibrant matcha powder until the green color is evenly distributed, creating that nostalgic matcha cheesecake flavor that’s both earthy and sweet. Next, whisk in chilled heavy cream to get a thick, creamy filling that’s light enough to pipe but rich enough to satisfy. Pipe this luscious mixture into molds lined with plastic wrap and freeze them until firm – this will make wrapping the daifuku a breeze later on.
Step 2: Prepare the Glutinous Rice Dough
Combine the glutinous rice flour, cornstarch, sugar, and whole milk, whisking together until silky smooth. To reach that perfect mochi consistency, strain the batter, then steam it with care, making sure not to lift the lid, until it turns translucent and jiggles slightly. The dough is done when it holds its shape but remains supple. Right after steaming, fold in the butter while the dough is still hot, infusing a subtle richness and helping with elasticity. When cool enough, knead the dough by hand until soft, smooth, and stretchy – this step is key to achieving that satisfyingly chewy texture that only handmade mochi can deliver.
Step 3: Wrap and Shape the Daifuku
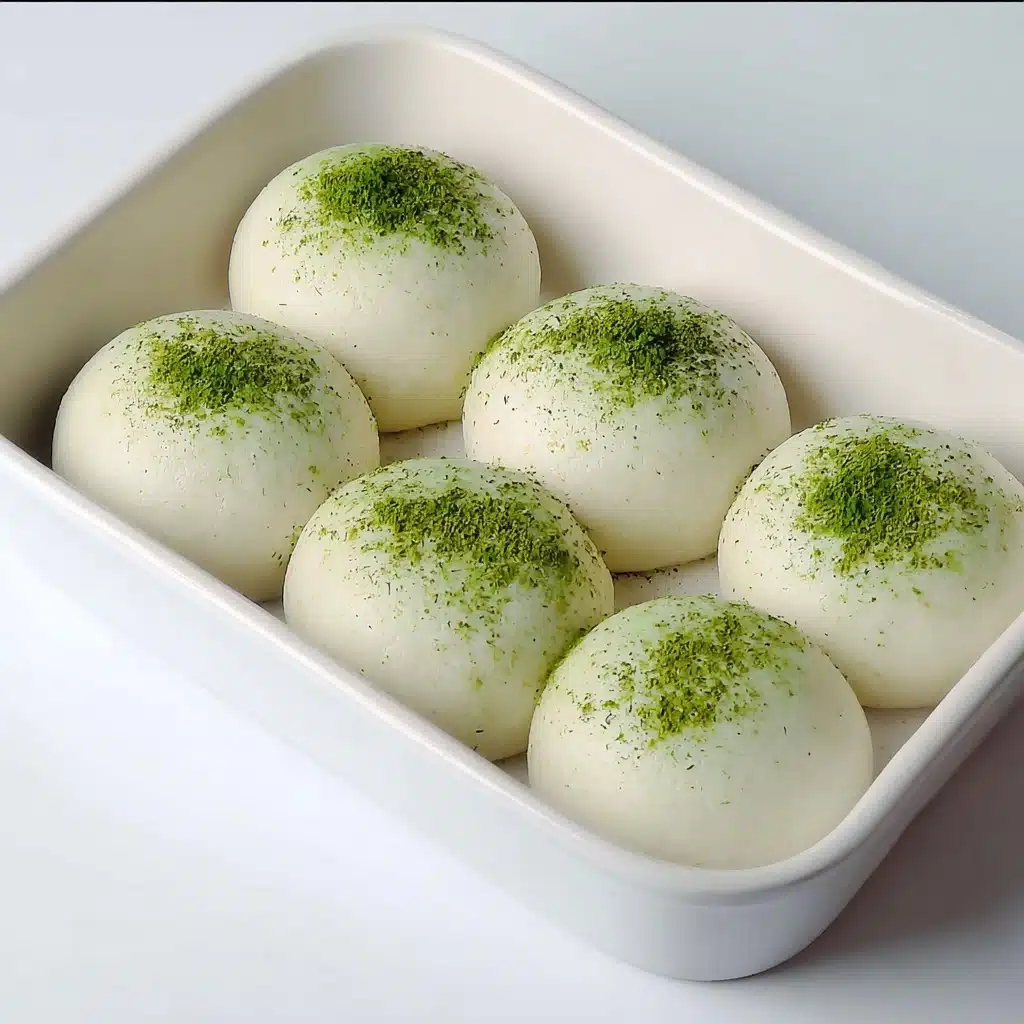
Divide your smooth mochi dough into rounded portions before flattening each into a thin disc with a thick center and tapered edges. Don’t forget to dust your work surface with cooked glutinous rice flour – it prevents sticking and keeps your treats neat. Nestle one of the frozen matcha cream cheese fillings in the center, then carefully pinch the edges of the mochi to seal it completely, trimming any excess dough. Finish off by dusting the outside lightly with rice flour to prevent sticking, then chill for a short while to let the flavors meld beautifully and the texture settle just right.
How to Serve Homemade Matcha Cheesecake Daifuku
Garnishes
Because presentation is part of the fun, a light dusting of matcha powder over the top adds a pop of the signature green hue and a subtle extra earthiness. For some sparkle, you can also sprinkle a few toasted black sesame seeds or edible gold flakes if you’re going for some wow factor at your next gathering.
Side Dishes
This dessert pairs exquisitely with a cup of freshly brewed green tea, which complements the matcha perfectly without overpowering the delicate sweetness. If you want to offer a more substantial pairing, a small bowl of fresh seasonal fruits like strawberries or yuzu slices helps to refresh the palate between bites.
Creative Ways to Present
Think beyond just plates! Try presenting these delights in pretty individual glass jars or colorful mini dessert bowls topped with edible flowers for a charming look. For a modern twist, you can even skewer a few daifuku onto decorative sticks for a handheld dessert, perfect for parties or afternoon tea with friends.
Make Ahead and Storage
Storing Leftovers
Leftover Homemade Matcha Cheesecake Daifuku can be stored in an airtight container in the refrigerator for up to two days. Keep them chilled to maintain the fresh texture of the cheesecake filling and the soft chewiness of the mochi exterior.
Freezing
If you want to make these ahead and enjoy them later, freezing works wonderfully. Place the sealed daifuku in a single layer on a baking sheet, freeze until solid, then transfer to an airtight container or zip-top bag. They can be frozen for up to one month without losing quality.
Reheating
To enjoy your frozen daifuku, let them thaw in the refrigerator overnight. Avoid microwaving as it can cause the dough to become tough or overly sticky. When thawed, they’ll maintain that perfect balance of softness and creamy filling you love.
FAQs
What makes this cheesecake daifuku different from traditional mochi?
This variation incorporates a rich, matcha-flavored cheesecake filling, blending the chewy texture of mochi with creamy, tangy cheesecake for a delicious fusion rather than just the plain sweet bean paste of traditional daifuku.
Can I use regular green tea powder instead of matcha?
While regular green tea powder is generally more bitter and less vibrant, the unique flavor and color of authentic Japanese matcha really makes this recipe shine, so it’s best to stick with high-quality matcha powder if possible.
Is it difficult to work with glutinous rice dough?
It can be sticky and a little tricky at first, but with flour-dusting and gentle kneading as described, you’ll get the hang of making smooth, elastic dough that wraps your filling beautifully.
Can I substitute the cream cheese filling with something else?
Of course! Feel free to experiment with flavors like chocolate mousse or fruit-based fillings; however, the classic matcha cheesecake combination is what truly makes this recipe special.
How long does the filling need to freeze before wrapping?
Freezing for at least two hours, or preferably overnight, ensures the cheesecake filling is firm and easy to handle, preventing it from melting or breaking through the mochi during wrapping.
Final Thoughts
From the first creamy bite to the lingering sweetness of matcha, the Homemade Matcha Cheesecake Daifuku offers an irresistible journey of flavors and textures. It’s a wonderful project to tackle in the kitchen, and once you’ve made them, you’ll have a show-stopping treat that’s as fun to share as it is to eat. Give this recipe a try, and you’ll soon find yourself reaching for that piping bag and mochi dough again and again!
PrintHomemade Matcha Cheesecake Daifuku Recipe
This Homemade Matcha Cheesecake Daifuku recipe combines the delicate umami flavor of Japanese matcha with creamy cheesecake filling, all wrapped in a soft, chewy glutinous rice dough. Perfect as a unique dessert or snack, this daifuku features a rich matcha cream cheese center encased in pillowy mochi dough with a light dusting of matcha powder for an elegant finish.
- Prep Time: 30 minutes
- Cook Time: 25 minutes
- Total Time: 3 hours including freezing and chilling
- Yield: 8–10 pieces 1x
- Category: Dessert
- Method: Steaming, Freezing, Mixing
- Cuisine: Japanese
- Diet: Vegetarian
Ingredients
Matcha Cream Cheese Filling
- 200 g cream cheese, softened
- 25 g granulated sugar
- 8 g matcha powder (preferably Japanese matcha)
- 150 g heavy cream, chilled
Glutinous Rice Dough
- 120 g glutinous rice flour
- 30 g cornstarch
- 15 g granulated sugar
- 180 g whole milk
- 15 g unsalted butter
Instructions
- Make the Matcha Cream Cheese Filling: Place the softened cream cheese in a large bowl. Add 25 g granulated sugar and mix thoroughly with a spatula until the mixture is smooth and free of lumps, around 2 minutes. Then, add 8 g matcha powder and continue mixing until fully combined without clumps.
- Add heavy cream: Pour in 150 g of cold heavy cream. Use a manual whisk to stir the mixture until it thickens and becomes creamy, indicating the right texture for the filling.
- Freeze to set: Transfer the matcha cream cheese mixture into a piping bag. Pipe the filling into molds lined with plastic wrap (such as mini cake molds or ice cube trays), depositing approximately 30 g per piece. Freeze for at least 2 hours or overnight until solid.
- Prepare the Glutinous Rice Dough: In a bowl, whisk together 120 g glutinous rice flour, 30 g cornstarch, 15 g granulated sugar, and 180 g whole milk until the batter is smooth and lump-free. Strain the batter to ensure a silky texture.
- Steam the batter: Cover the bowl tightly with plastic wrap and pierce 5–6 small holes using a toothpick. Steam over high heat for 20 minutes without lifting the lid. The dough is done when it turns translucent and holds its shape. Test doneness by inserting chopsticks into the center to check it’s fully cooked.
- Incorporate butter: While the dough is still hot, add 15 g unsalted butter and stir with chopsticks until melted and integrated. Allow the dough to cool until it is safe to handle, then wearing gloves, knead and stretch the dough repeatedly until it becomes smooth, elastic, and forms a thin translucent film when pulled.
- Divide the dough: Split the cooled mochi dough into 8 to 10 equal portions, about 40 g each. Roll each portion into a ball and flatten into circles approximately 10 cm in diameter with thinner edges. Dust your work surface with cooked glutinous rice flour to prevent sticking.
- Wrap the filling: Place one mochi dough circle onto your palm or a mold. Place one frozen matcha cream cheese piece in the center. Carefully pinch the dough around the filling to seal completely, trimming any excess dough. Dust the surface of the shaped daifuku with cooked glutinous rice flour to prevent sticking.
- Chill and decorate: Lightly sift matcha powder over the tops of the assembled daifuku for a decorative finish. Chill them in the refrigerator for at least 30 minutes before serving to enhance flavor and achieve the ideal texture.
Notes
- Ensure the cream cheese is fully softened for a smooth filling.
- Freezing the filling helps maintain the shape inside the mochi dough.
- Do not lift the lid during steaming to prevent the dough from collapsing.
- Use gloves when handling hot dough to avoid burning and maintain hygiene.
- Cooked glutinous rice flour (dusting flour) is used to prevent sticking; you can make it by lightly toasting glutinous rice flour in a dry pan.
- Daifuku is best consumed within 1-2 days for optimal freshness.
Nutrition
- Serving Size: 1 piece (approx. 60g)
- Calories: 180 kcal
- Sugar: 10 g
- Sodium: 60 mg
- Fat: 10 g
- Saturated Fat: 6 g
- Unsaturated Fat: 3 g
- Trans Fat: 0 g
- Carbohydrates: 18 g
- Fiber: 1 g
- Protein: 3 g
- Cholesterol: 40 mg
Keywords: matcha daifuku, cheesecake daifuku, mochi dessert, Japanese dessert, matcha cheesecake, homemade daifuku