Cheesy Zucchini Breadsticks Recipe
Introduction
These Cheesy Zucchini Breadsticks are a delightful and savory snack perfect for any occasion. Packed with fresh zucchini and a blend of cheeses, they offer a crispy crust with a melty, flavorful topping. Quick to prepare and bake, they make a great appetizer or side dish.
Ingredients
- 4 cups grated zucchini
- 1/2 cup mozzarella cheese
- 1/3 cup parmesan cheese
- 1 egg
- 1 tsp garlic parsley salt
- 1 cup grated cheese of choice (for topping)
Instructions
- Step 1: Squeeze all of the juices out of the grated zucchini using a clean kitchen towel or cheesecloth to remove as much moisture as possible. This helps create a crispier crust.
- Step 2: In a large bowl, combine the grated zucchini, mozzarella cheese, parmesan cheese, egg, and garlic parsley salt. Stir well to combine into a uniform mixture.
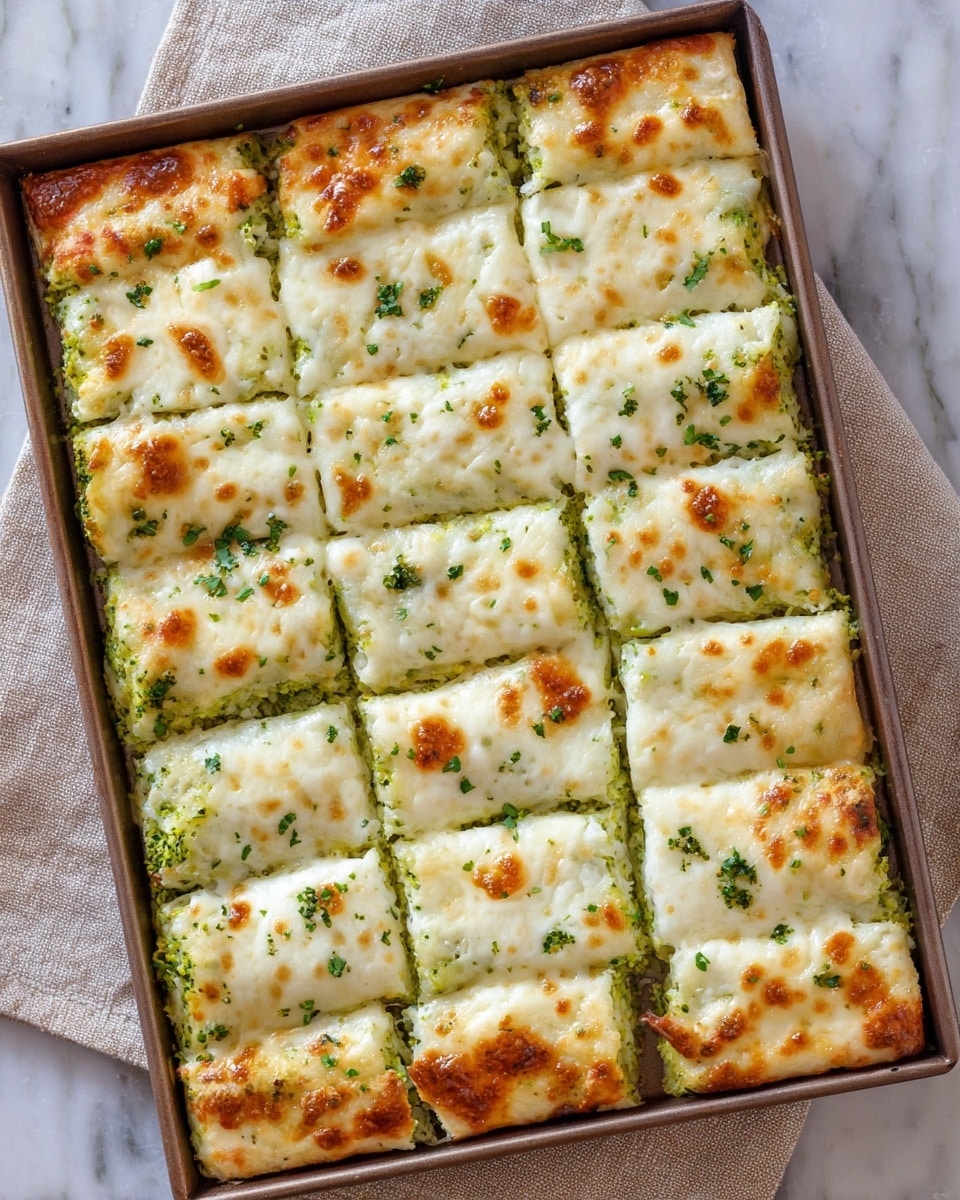
- Step 3: Line a baking dish with parchment paper, then spread the zucchini mixture evenly into a thin layer about half an inch thick to ensure a crisp bottom. Bake in a preheated oven at 425°F for 15 minutes.
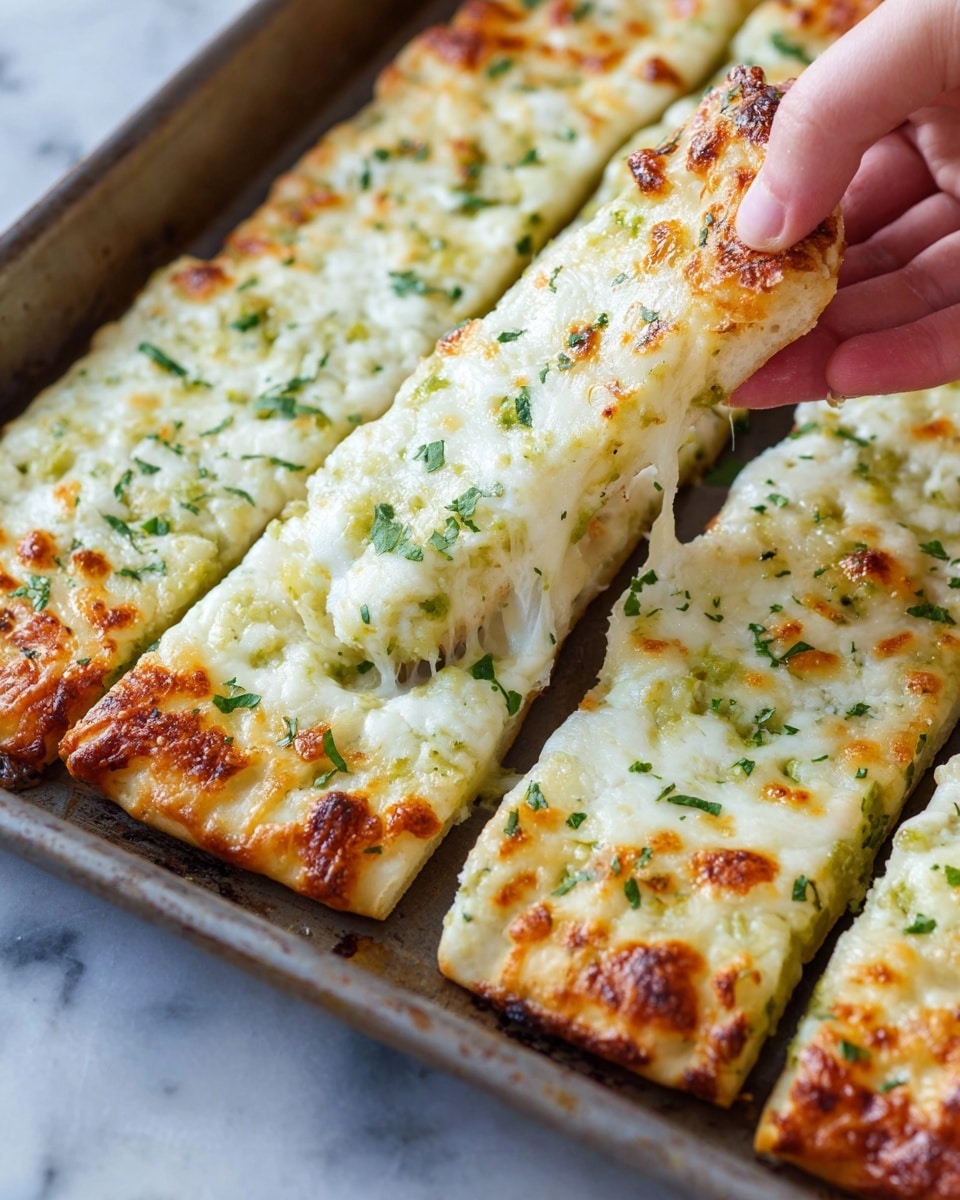
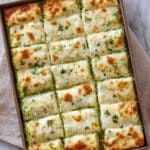
- Step 4: Remove the baking dish from the oven and top the baked crust with your choice of grated cheese, such as mozzarella or a Mexican cheese blend. Return to the oven and bake for an additional 2-5 minutes, until the cheese melts and turns golden brown.
- Step 5: Slice into breadstick shapes and serve warm for the best flavor and texture.
Tips & Variations
- Removing excess moisture from zucchini is key; pressing with paper towels or using a salad spinner before wringing helps achieve a crisp crust.
- Try adding Italian seasoning or red pepper flakes to the zucchini mixture for a spicy kick.
- Substitute the egg with a flax egg (1 tbsp flaxseed meal + 3 tbsp water) for a vegan-friendly version.
- Experiment with different cheeses like cheddar or gouda for varied flavors.
Storage
Store leftover breadsticks in an airtight container in the refrigerator for up to 3 days. Reheat in an oven or toaster oven at 350°F for 5–7 minutes to restore crispness. Avoid microwaving if possible, as it may make them soggy.
How to Serve
Serve this delicious recipe with your favorite sides.
FAQs
Can I use frozen zucchini for this recipe?
Yes, you can use frozen zucchini, but be sure to thaw it completely and squeeze out as much moisture as possible to prevent a soggy crust.
Can I prepare the zucchini mixture in advance?
You can mix the ingredients ahead of time and refrigerate for up to 24 hours before baking. Just ensure you squeeze out any excess liquid before baking for the best texture.
PrintCheesy Zucchini Breadsticks Recipe
These Cheesy Zucchini Breadsticks are a delicious low-carb alternative to traditional breadsticks. Made with fresh grated zucchini and a blend of mozzarella and parmesan cheeses, they are baked to a crispy perfection and topped with melted cheese for extra flavor. Perfect as a snack or appetizer, they are quick to prepare and offer a healthy twist on a classic favorite.
- Prep Time: 15 minutes
- Cook Time: 20 minutes
- Total Time: 35 minutes
- Yield: 8–10 breadsticks 1x
- Category: Appetizer
- Method: Baking
- Cuisine: American
- Diet: Gluten Free
Ingredients
Main Ingredients
- 4 cups Grated Zucchini
- 1/2 cup Mozzarella Cheese
- 1/3 cup Parmesan Cheese
- 1 Egg
- 1 tsp Garlic Parsley Salt
Topping
- 1 cup Grated Cheese of Choice (e.g., Mozzarella or Mexican cheese)
Instructions
- Prepare the zucchini: Squeeze all the excess juice out of the grated zucchini thoroughly. Removing as much moisture as possible is key to achieving a crisp breadstick crust.
- Mix ingredients: In a large bowl, combine the squeezed zucchini, mozzarella cheese, parmesan cheese, egg, and garlic parsley salt. Stir everything together until well incorporated.
- Form the crust and bake: Line a baking dish with parchment paper and spread the zucchini mixture out evenly in a thin layer approximately half an inch thick. Bake in an oven preheated to 425°F (220°C) for 15 minutes until the bottom becomes crisp.
- Add topping and finish baking: Remove the baked crust from the oven and sprinkle your choice of grated cheese evenly over the top. Return to the oven and bake for an additional 2 to 5 minutes until the cheese is melted and golden brown.
- Slice and serve: Once done, slice the cheesy zucchini loaf into breadstick-sized pieces and serve hot for the best taste and texture.
Notes
- Make sure to squeeze out as much liquid as possible from the zucchini to prevent sogginess.
- You can swap the topping cheese with any favorite melting cheese like cheddar, Monterey Jack or a Mexican blend.
- This recipe works well as a gluten-free appetizer or snack option.
- For a crispier texture, bake on a parchment-lined baking sheet rather than a dish.
- Serve immediately to enjoy the breadsticks warm and melty.
Keywords: Cheesy zucchini breadsticks, low carb breadsticks, gluten free appetizer, zucchini snack, baked zucchini breadsticks