Campfire Nachos Recipe
Introduction
Campfire nachos are a fun and easy way to enjoy a cheesy, flavorful snack outdoors. Layered with fresh veggies and melted cheese, they’re perfect for sharing around the fire or at a backyard grill.
Ingredients
- 8 ounces tortilla chips
- ½ cup black olives, sliced
- ¼ cup green onions, sliced
- ½ cup tomatoes, diced
- 3 cups taco cheese, shredded (or your favorite blend)
- 2 jalapeños, sliced and seeds removed
- Cilantro for garnish (optional)
- Sour cream, salsa, and guacamole for topping
Instructions
- Step 1: Layer one-third of the tortilla chips evenly on the bottom of a 10.5-inch cast iron skillet.
- Step 2: Sprinkle one-third of the shredded cheese over the chips, then add half of the sliced black olives, half of the diced tomatoes, half of the jalapeño slices, and half of the green onions.
- Step 3: Add another layer with one-third of the tortilla chips and one-third of the cheese.
- Step 4: Top with the remaining chips, cheese, black olives, tomatoes, and green onions. Place the remaining jalapeño slices on top.
- Step 5: Cover the skillet loosely with foil to retain heat and prevent burning.
- Step 6: Place the skillet over a campfire or on a grill set to medium heat. Cook until the cheese melts completely, about 10 to 15 minutes.
- Step 7: Remove the foil, garnish with cilantro if using, and serve with sour cream, salsa, and guacamole on the side.
Tips & Variations
- Use a mix of cheeses like cheddar, Monterey Jack, and pepper jack for extra flavor.
- For a spicier version, leave the jalapeño seeds in or add a few dashes of hot sauce.
- Try adding cooked ground beef or black beans for a heartier meal.
- Make it vegetarian by adding extra veggies like corn or bell peppers.
- If you don’t have a cast iron skillet, a heavy oven-safe pan will work on a grill or in the oven.
Storage
Store leftover nachos in an airtight container in the refrigerator for up to 2 days. Reheat in an oven or toaster oven at 350°F (175°C) until the cheese is melted again, about 5–7 minutes. Avoid microwaving to keep the chips crispy.
How to Serve

Serve this delicious recipe with your favorite sides.
FAQs
Can I make campfire nachos without a cast iron skillet?
Yes, you can use any heavy, oven-safe pan that can withstand outdoor heat, such as stainless steel or enamel-coated pans. Just make sure it’s sturdy enough for the fire or grill.
How do I keep the chips from getting soggy?
Layer the chips between cheese and toppings rather than piling everything on top, and cover the skillet loosely with foil to trap heat without steaming. Serve immediately after the cheese melts for the best crunch.
PrintCampfire Nachos Recipe

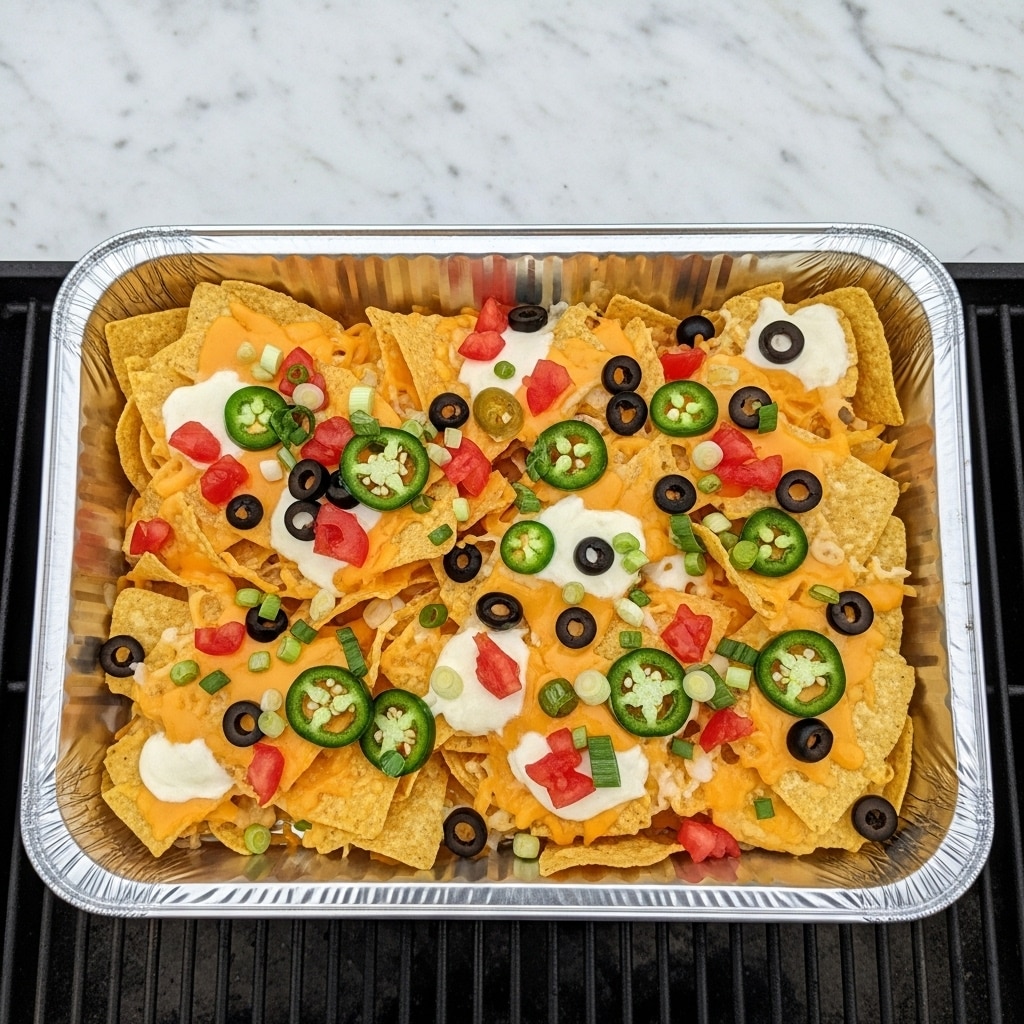
These Campfire Nachos are a delicious, easy-to-make treat perfect for outdoor cooking. Layered with tortilla chips, melted taco cheese, fresh veggies, and spicy jalapeños, then cooked over a campfire or grill until gooey and hot, they’re the perfect shareable snack for gatherings and camping trips.
- Prep Time: 10 minutes
- Cook Time: 15 minutes
- Total Time: 25 minutes
- Yield: 4 servings 1x
- Category: Snack
- Method: Grilling
- Cuisine: Mexican
- Diet: Vegetarian
Ingredients
Main Ingredients
- 8 ounces tortilla chips
- 3 cups taco cheese (shredded or your favorite blend)
Vegetables & Toppings
- ½ cup black olives, sliced
- ¼ cup green onions, sliced
- ½ cup tomatoes, diced
- 2 jalapeños, sliced and seeds removed
- Cilantro for garnish (optional)
Condiments
- Sour cream (for topping)
- Salsa (for topping)
- Guacamole (for topping)
Instructions
- Layer the base: Place one-third of the tortilla chips evenly on the bottom of a 10.5-inch cast iron skillet, creating a sturdy base for the nachos.
- Add first toppings: Sprinkle one-third of the shredded taco cheese over the chips, then add half of the sliced black olives, half of the diced tomatoes, half of the sliced jalapeños, and half of the sliced green onions evenly across the layer.
- Second chip layer: Add another one-third of the tortilla chips over the toppings, followed by another one-third portion of shredded cheese.
- Final toppings and chips: Finish with the remaining tortilla chips, cheese, olives, tomatoes, and green onions. Place the remaining jalapeño slices on top for a spicy kick.
- Cover the skillet: Loosely cover the skillet with aluminum foil to help retain heat and encourage the cheese to melt evenly.
- Cook on fire or grill: Place the covered skillet directly on a campfire grate or grill over medium heat. Cook for 10 to 15 minutes until the cheese is fully melted and bubbly.
- Garnish and serve: Remove from heat, sprinkle with fresh cilantro if desired, and serve hot with sour cream, salsa, and guacamole on the side for dipping and toppings.
Notes
- Using a cast iron skillet helps distribute heat evenly and withstands direct fire or grill heat.
- Remove seeds from jalapeños to reduce spiciness if preferred.
- Serve immediately for best taste and texture.
- Feel free to customize with additional toppings like cooked ground beef, black beans, or corn.
Keywords: Campfire nachos, grilled nachos, easy camping recipe, cheesy nachos, party snack, Mexican style snack