Creamy Matcha Cheesecake Recipe
Introduction
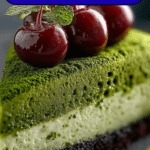
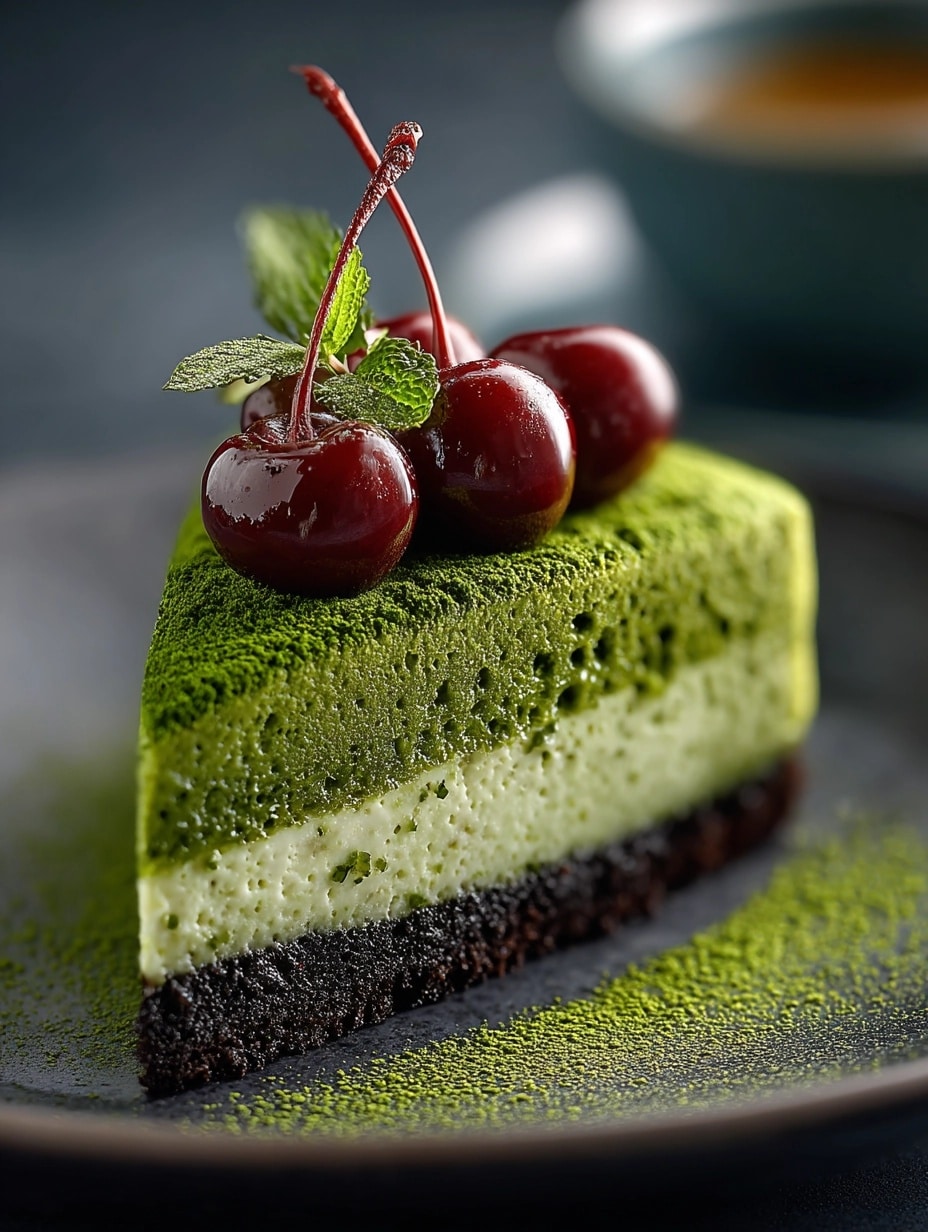
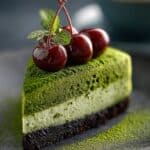
Matcha cheesecake is a delightful fusion of creamy, rich cheesecake and the earthy, vibrant flavor of green tea. This smooth dessert is perfect for those who enjoy a subtle twist on a classic treat.
Ingredients
- 16 oz cream cheese
- 3/4 cup sugar
- 3 large eggs
- 2 tablespoons matcha powder
Instructions
- Step 1: Preheat your oven to 325°F (160°C). In a large bowl, beat the cream cheese and sugar together until smooth and creamy.
- Step 2: Add the eggs one at a time, mixing well after each addition. Sift in the matcha powder and gently fold it into the batter until fully combined.
- Step 3: Pour the mixture into a greased or lined springform pan. Bake for about 45-50 minutes, or until the cheesecake is set but still slightly jiggly in the center.
- Step 4: Remove from the oven and let it cool to room temperature. Then chill in the refrigerator for at least 4 hours or overnight before serving.
Tips & Variations
- For a smoother texture, you can blend the batter briefly to remove any lumps before baking.
- Try adding a graham cracker crust for added crunch and flavor.
- Adjust the matcha powder to taste; more matcha will give a stronger green tea flavor.
Storage
Store the matcha cheesecake in an airtight container in the refrigerator. It will keep well for up to 4 days. When ready to serve, let it sit at room temperature for 10-15 minutes for best texture. This cheesecake is not recommended for freezing as the texture may change.
How to Serve
Serve this delicious recipe with your favorite sides.
FAQs
Can I use powdered green tea instead of matcha?
Matcha is a finely ground green tea powder with a unique flavor and vibrant color. Regular powdered green tea will not provide the same taste or appearance, so matcha is recommended for this recipe.
How do I know when the cheesecake is done baking?
The edges should be set and slightly puffed, but the center should still have a gentle jiggle when you move the pan. It will firm up as it cools and chills.
PrintCreamy Matcha Cheesecake Recipe
A creamy and vibrant Matcha Cheesecake that combines the rich texture of classic cheesecake with the unique, earthy flavor of matcha green tea powder. Perfect for dessert lovers looking to add a twist to a traditional favorite.
- Prep Time: 15 minutes
- Cook Time: 45 minutes
- Total Time: 4 hours 60 minutes
- Yield: 8 servings 1x
- Category: Dessert
- Method: Baking
- Cuisine: Japanese-inspired
- Diet: Vegetarian
Ingredients
Cheesecake Base
- 16 oz (450 g) cream cheese, softened
- 3/4 cup (150 g) granulated sugar
- 3 large eggs
- 2 tablespoons matcha powder
Instructions
- Preheat oven: Preheat your oven to 325°F (163°C) to prepare for baking the cheesecake.
- Prepare batter: In a large mixing bowl, beat the softened cream cheese until smooth and creamy. Gradually add sugar and continue beating until well combined. Add eggs one at a time, mixing thoroughly after each addition. Sift in the matcha powder and gently fold it into the batter until evenly distributed.
- Pour and bake: Pour the cheesecake batter into a greased 8-inch springform pan or a similarly sized baking dish. Place it in the preheated oven and bake for 45–50 minutes, or until the center is almost set but still slightly jiggly.
- Cool and chill: Remove the cheesecake from the oven and allow it to cool to room temperature. After cooling, cover it with plastic wrap and refrigerate for at least 4 hours, preferably overnight, to let it fully set and develop flavors.
Notes
- For a smoother texture, ensure cream cheese is fully softened before mixing.
- Sift the matcha powder to avoid lumps in the batter.
- To prevent cracking, avoid overbaking and allow the cheesecake to cool gradually.
- Serve chilled for the best flavor and consistency.
Keywords: Matcha cheesecake, green tea dessert, baked cheesecake, Japanese dessert, creamy cheesecake