Pot-O-Gold Brownie Cupcakes Recipe
Introduction
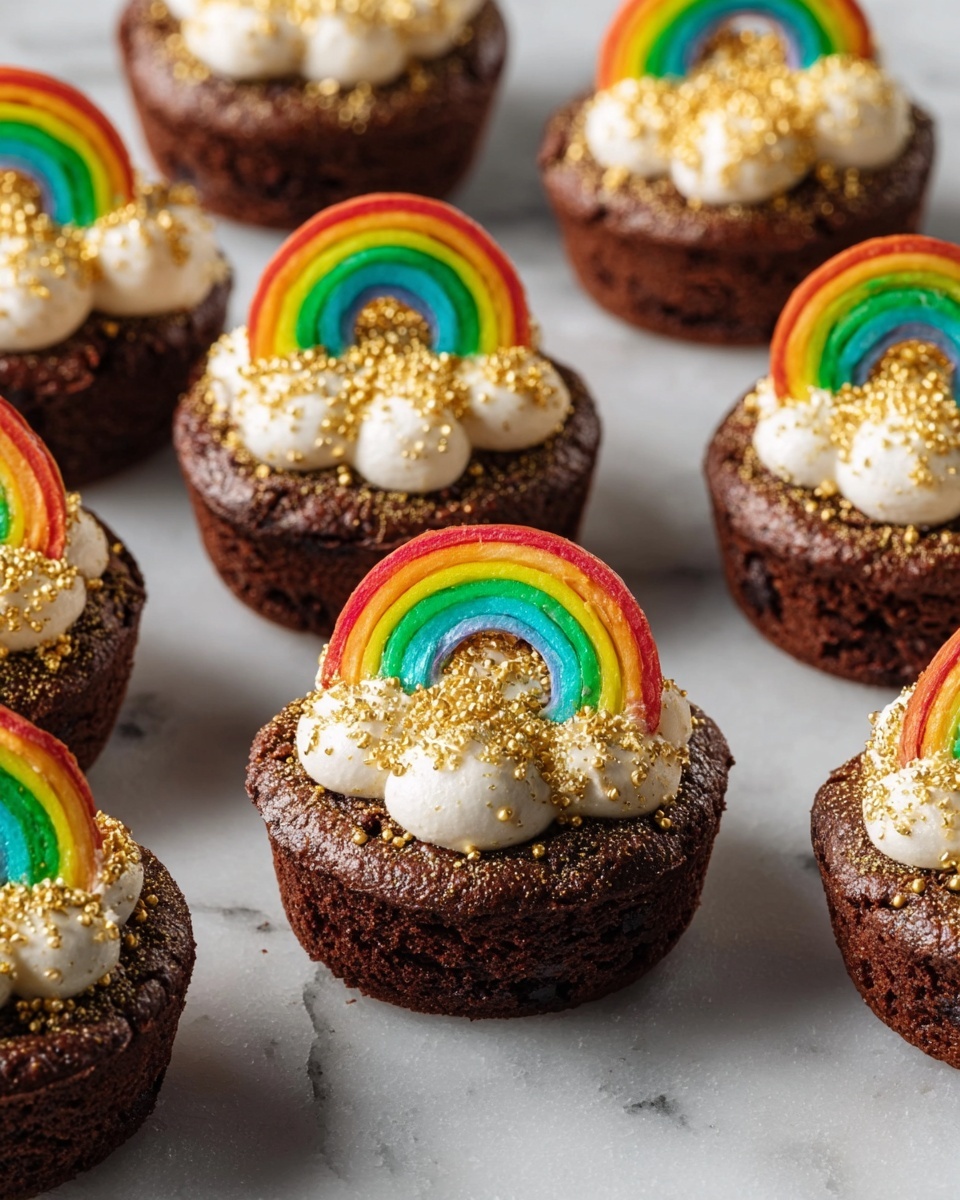
Pot-O-Gold Brownie Cupcakes are a festive twist on classic brownies, perfect for celebrations or a fun treat. These bite-sized cupcakes feature a gooey brownie base shaped like a cup and decorated with whipped cream and a colorful candy rainbow.
Ingredients
- Cooking spray, for pan
- 1 box brownie mix, plus ingredients called for on box
- 2 rainbow candy belts
- 2 cups whipped cream, for decorating
- Gold sanding sugar, for decorating
Instructions
- Step 1: Preheat oven to 350°F and grease a 12-cup muffin tin with cooking spray. Prepare the brownie mix according to the package instructions.
- Step 2: Fill each muffin cup with the brownie batter and bake for 25 to 30 minutes. After baking, press a shot glass into the center of each brownie to create a shallow cup. Allow them to cool completely.
- Step 3: Cut the rainbow candy belts into 2-inch-long strips.
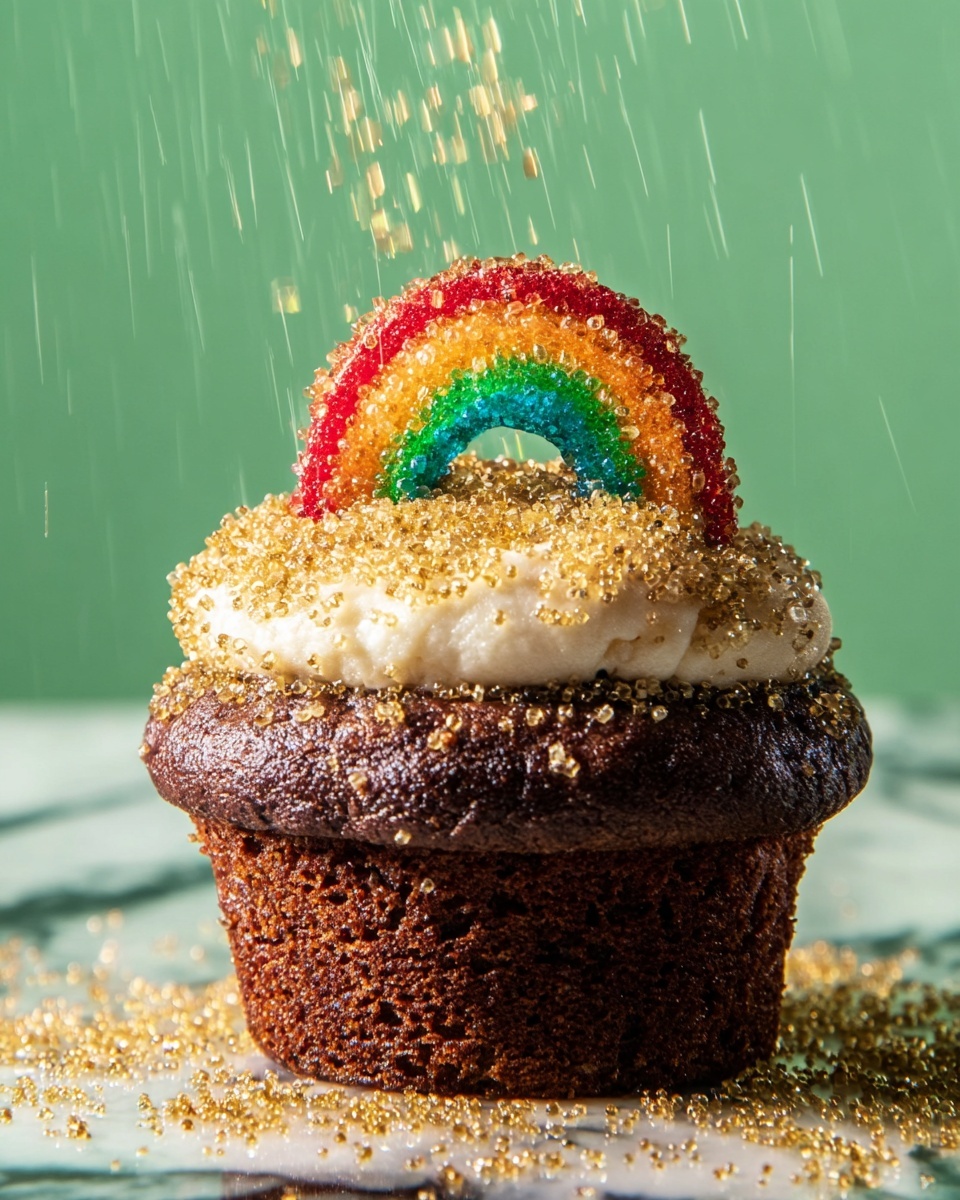
- Step 4: Spoon a generous dollop of whipped cream into each brownie cup, then sprinkle with gold sanding sugar. Form each candy belt strip into a semicircle and place it on top to resemble a rainbow.
Tips & Variations
- For extra flavor, mix a teaspoon of vanilla extract into the brownie batter before baking.
- Substitute whipped cream with cream cheese frosting for a richer topping.
- Use colored sugars or edible glitter instead of gold sanding sugar for a different look.
- Try mini candy-coated chocolates at the base of the rainbow to mimic a pot of gold.
Storage
Store the brownie cupcakes in an airtight container in the refrigerator for up to 3 days. Add whipped cream and candy decorations just before serving for best texture. To reheat, warm the brownies alone in the microwave for 10-15 seconds; avoid reheating once decorated.
How to Serve
Serve this delicious recipe with your favorite sides.
FAQs
Can I make these cupcakes from scratch instead of using a brownie mix?
Yes, you can use your favorite homemade brownie recipe. Just bake in a muffin tin and follow the same steps to create the cups and decorate.
How do I keep the rainbow candy from sticking to the whipped cream?
Use whipped cream that is slightly chilled and pipe or spoon it firmly into the brownie cups. Gently place the candy on top without pressing too hard to prevent sticking or melting.
PrintPot-O-Gold Brownie Cupcakes Recipe

These Pot-O-Gold Brownie Cupcakes are a fun and festive treat perfect for celebrations and St. Patrick’s Day. Featuring rich, fudgy brownies baked in a muffin tin with a hollowed center filled with whipped cream, topped with rainbow candy belts and shimmering gold sanding sugar, they combine the classic chocolate indulgence with vibrant decorative flair.
- Prep Time: 15 minutes
- Cook Time: 25-30 minutes
- Total Time: 45 minutes
- Yield: 12 brownie cupcakes 1x
- Category: Dessert
- Method: Baking
- Cuisine: American
Ingredients
Brownie Base
- Cooking spray, for pan
- 1 box brownie mix, plus ingredients called for on box (usually eggs, oil, and water)
Decorations
- 2 rainbow candy belts, cut into 2-inch strips
- 2 cups whipped cream (such as Cool Whip), for decorating
- Gold sanding sugar, for decorating
Instructions
- Prepare the Muffin Tin: Preheat your oven to 350°F (175°C) and generously grease a 12-cup muffin tin with cooking spray to prevent sticking and ensure easy removal of the brownies.
- Make Brownie Batter: Prepare the brownie mix according to the package instructions, combining all required ingredients to form a smooth batter.
- Fill and Bake: Divide the batter evenly among the muffin cups, filling each to about three-quarters full. Bake in the preheated oven for 25 to 30 minutes until set and a toothpick inserted near the edges comes out with moist crumbs.
- Create the Cups: Remove the baked brownies from the oven and immediately press a shot glass into the center of each to create a shallow cup shape. Allow the brownies to cool completely in the tin so the cups hold their shape.
- Prepare Candy Decorations: While the brownies cool, cut the rainbow candy belts into strips about 2 inches long to later form rainbow arcs.
- Assemble the Brownie Cups: Once cooled, fill each brownie cup with a scoop of whipped cream. Sprinkle generously with gold sanding sugar to add sparkle and a festive touch.
- Add the Rainbow: Place one strip of the rainbow candy belt on top of each whipped cream dollop, shaping it into a semicircle to mimic a rainbow arch.
Notes
- Using a shot glass to create the brownie cup-shaped wells works best when the brownies are warm and pliable.
- You can substitute homemade whipped cream for store-bought whipped topping for a fresher taste.
- Gold sanding sugar adds a festive look but can be substituted with colored sugar or edible glitter if preferred.
- Ensure brownies are completely cooled before filling to prevent melting the whipped cream topping.
Keywords: brownie cupcakes, St. Patrick’s Day, rainbow candy, whipped cream dessert, festive brownies, chocolate treats